
JOONG / ZONGZI
A home-cooking challenge. Yields ~24 100g dumplings. Plan ahead with some passive overnight prep, and give yourself a few hours of assembly the day after. Better with a group.After years of intimidation, I made one of my favorite comfort foods for Lunar New Year. Joong / zongzi / Chinese sticky rice dumplings are considered one of the harder, more laborious efforts in Chinese cooking, usually reserved for grannies. Obviously my ideal kind of challenge. I never learned how to make them because we could buy them easily in Chinatown, or had friends who made them for us. But once you’ve eaten enough, you know what you like, you know how you would make them better, and you are easily disappointed in store bought versions that don’t have fillings particular to your tastes.
So here’s the recipe I used, based roughly on a few sources (including personal preferences) with final pressure cooking technique from The Woks of Life (I am so glad I did not have to boil these for an entire afternoon). We made both vegetarian and meat versions with this recipe. Fillings can be switched out for whatever you want, but these are good basics for Cantonese style joong. We made about 24 joong total, weighing around 80-100g each. I can't tell you how many exactly this recipe will make. But for the effort, you might as well make as many as you can at once.
INGREDIENTS

Dried bamboo leaves

Short grain glutinous white rice
Dried bamboo leaves, (bought a pack from iFresh in Chinatown with two bundles, used one bundle, it must have been ~50 leaves. You need 2 to 3 leaves per dumpling, plus extra because some will definitely already have holes/tears and will break!)
Sturdy kitchen twine
5 cups short grain glutinous rice
300 g split mung beans
100 g raw peanuts (we braised ours in master stock we had in the freezer for extra flavor)
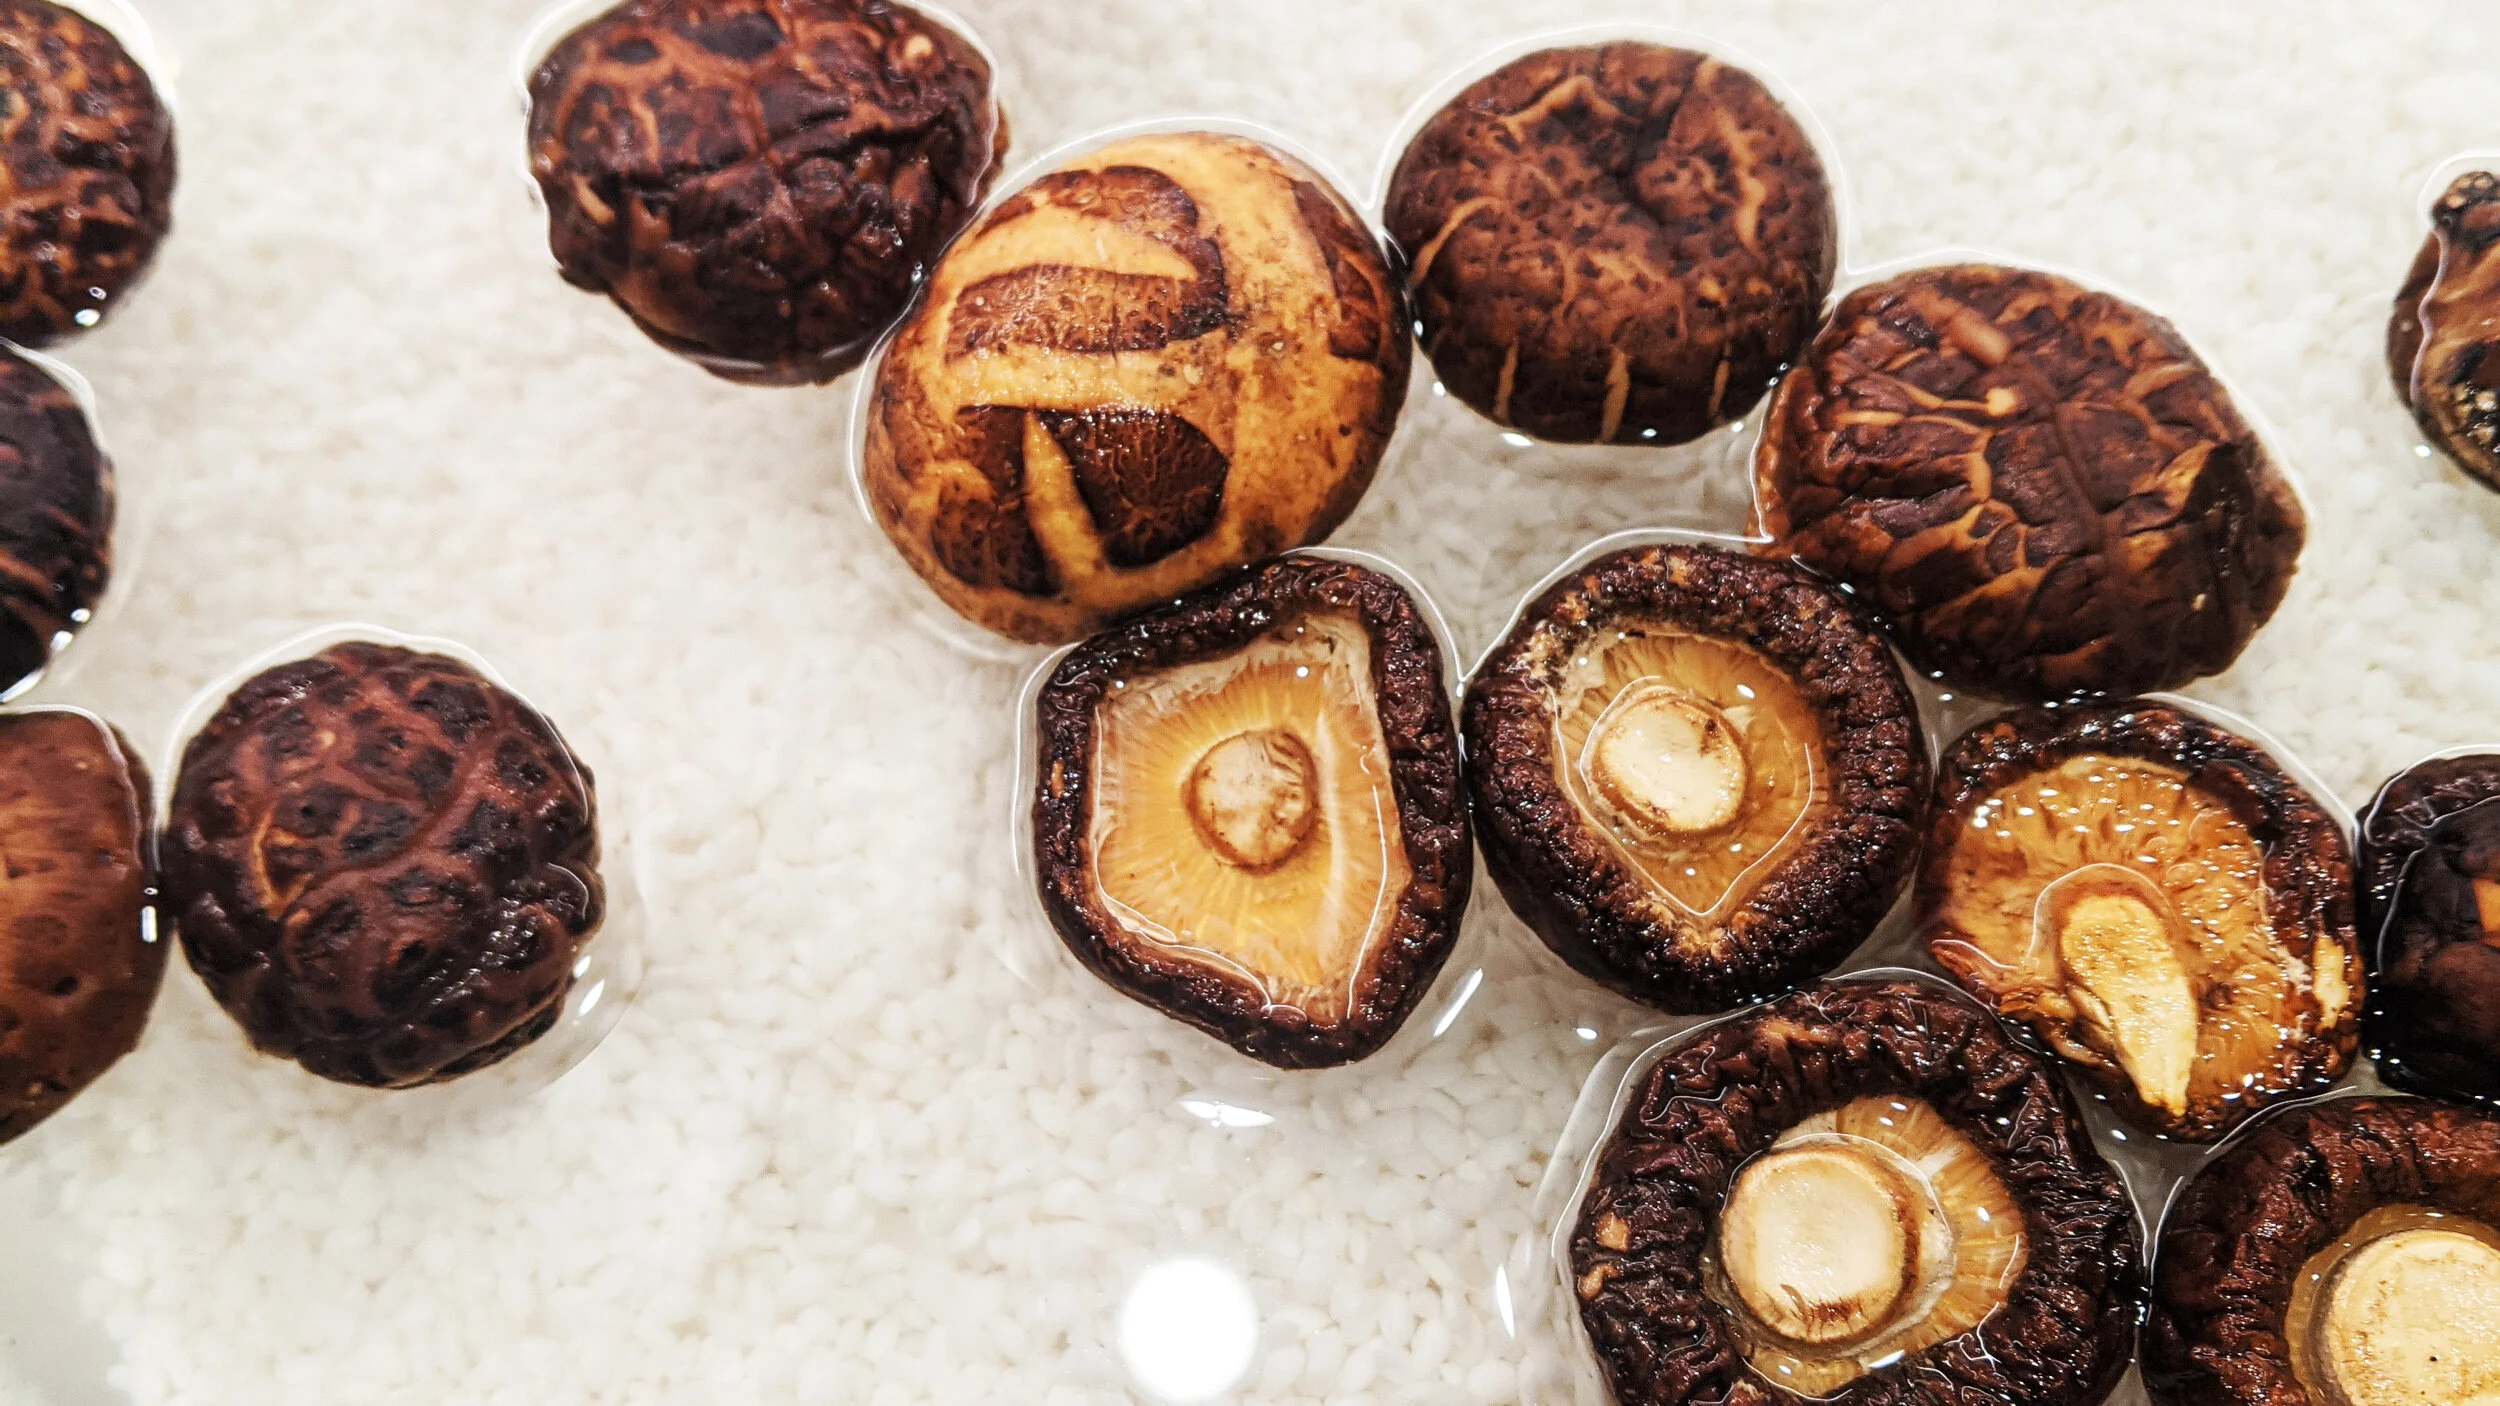
25 medium size dried Chinese mushrooms / black mushrooms / shiitake mushroom
3 links of Chinese sausage / lap cheung
Preserved bamboo shoots
20 salted duck egg yolks only ( they sell these alone in vacuum sealed packs in Chinese markets)
2 Tablespoons light soy sauce + 2 teaspoons kosher or sea salt
2 Tablespoons shaoxing cooking wine
Neutral cooking oil (ie peanut, sunflower, avocado)
THE NIGHT BEFORE:
Thoroughly wash rice with cold water until water runs clear. Fully soak rice in cold water with at least 1” of water above rice overnight. Repeat rinse & soak process for raw peanuts and dried mushrooms. You can soak the mushrooms with the rice for extra flavor infusion. Keep covered in refrigerator when soaking overnight.
Fill a large pot with water and fully submerge dried bamboo leaves, being careful not to break any. Cover with a heavy plate if they insist on floating. Bring to a boil for 15 minutes, then turn of heat, add a splash of oil and allow the leaves to soak overnight as water cools.
THE MORNING OF:
Rinse and soak split mung beans for at least 2 hours.
Wash the leaves that should now be soft and pliable, brushing off any dirt or debris from each side.
Take out rice, mung beans, peanuts, and mushrooms that were soaking overnight, drain well.
Mix in 2 Tablespoons + 2 teaspoons of salt and a splash of cooking oil into drained rice.
Removed tough stems from mushrooms and dice the tops. Add a splash of shaoxing cooking wine and mix in.
Rinse and cut lap cheong into bite sized pieces.
Cut egg yolks into halves (or keep them whole, we did find it makes the wrapping easier to have smaller pieces but I do love a whole yolk aesthetically)
Cut up bamboo shoots into small pieces.
Change out the soaking water from the bamboo leaves one last time and give them a final rinse. The water should be pretty clear now and the leaves a little bit oily. The oil on the leaves will help prevent the rice from sticking to the leaves after cooking. Cut off 2” across the base of the leaves + stem to prevent any punctures during wrapping.
The leaves should stay in water until you are ready to use them. Stage all your fillings and get ready for your patience to be tested. Maybe have a snack before you start while you watch the following videos.
ASSEMBLY & WRAPPING:
So, for wrapping these, please watch some videos! It's so hard to explain in just writing alone. There are several techniques and shapes and it varies not just by region, but maybe whatever the maker finds most natural. It may also help to precut lengths of kitchen twine about 60” long, I used my wingspan since that was easy. You can also connect one end of the strings to an anchor point to help things along.
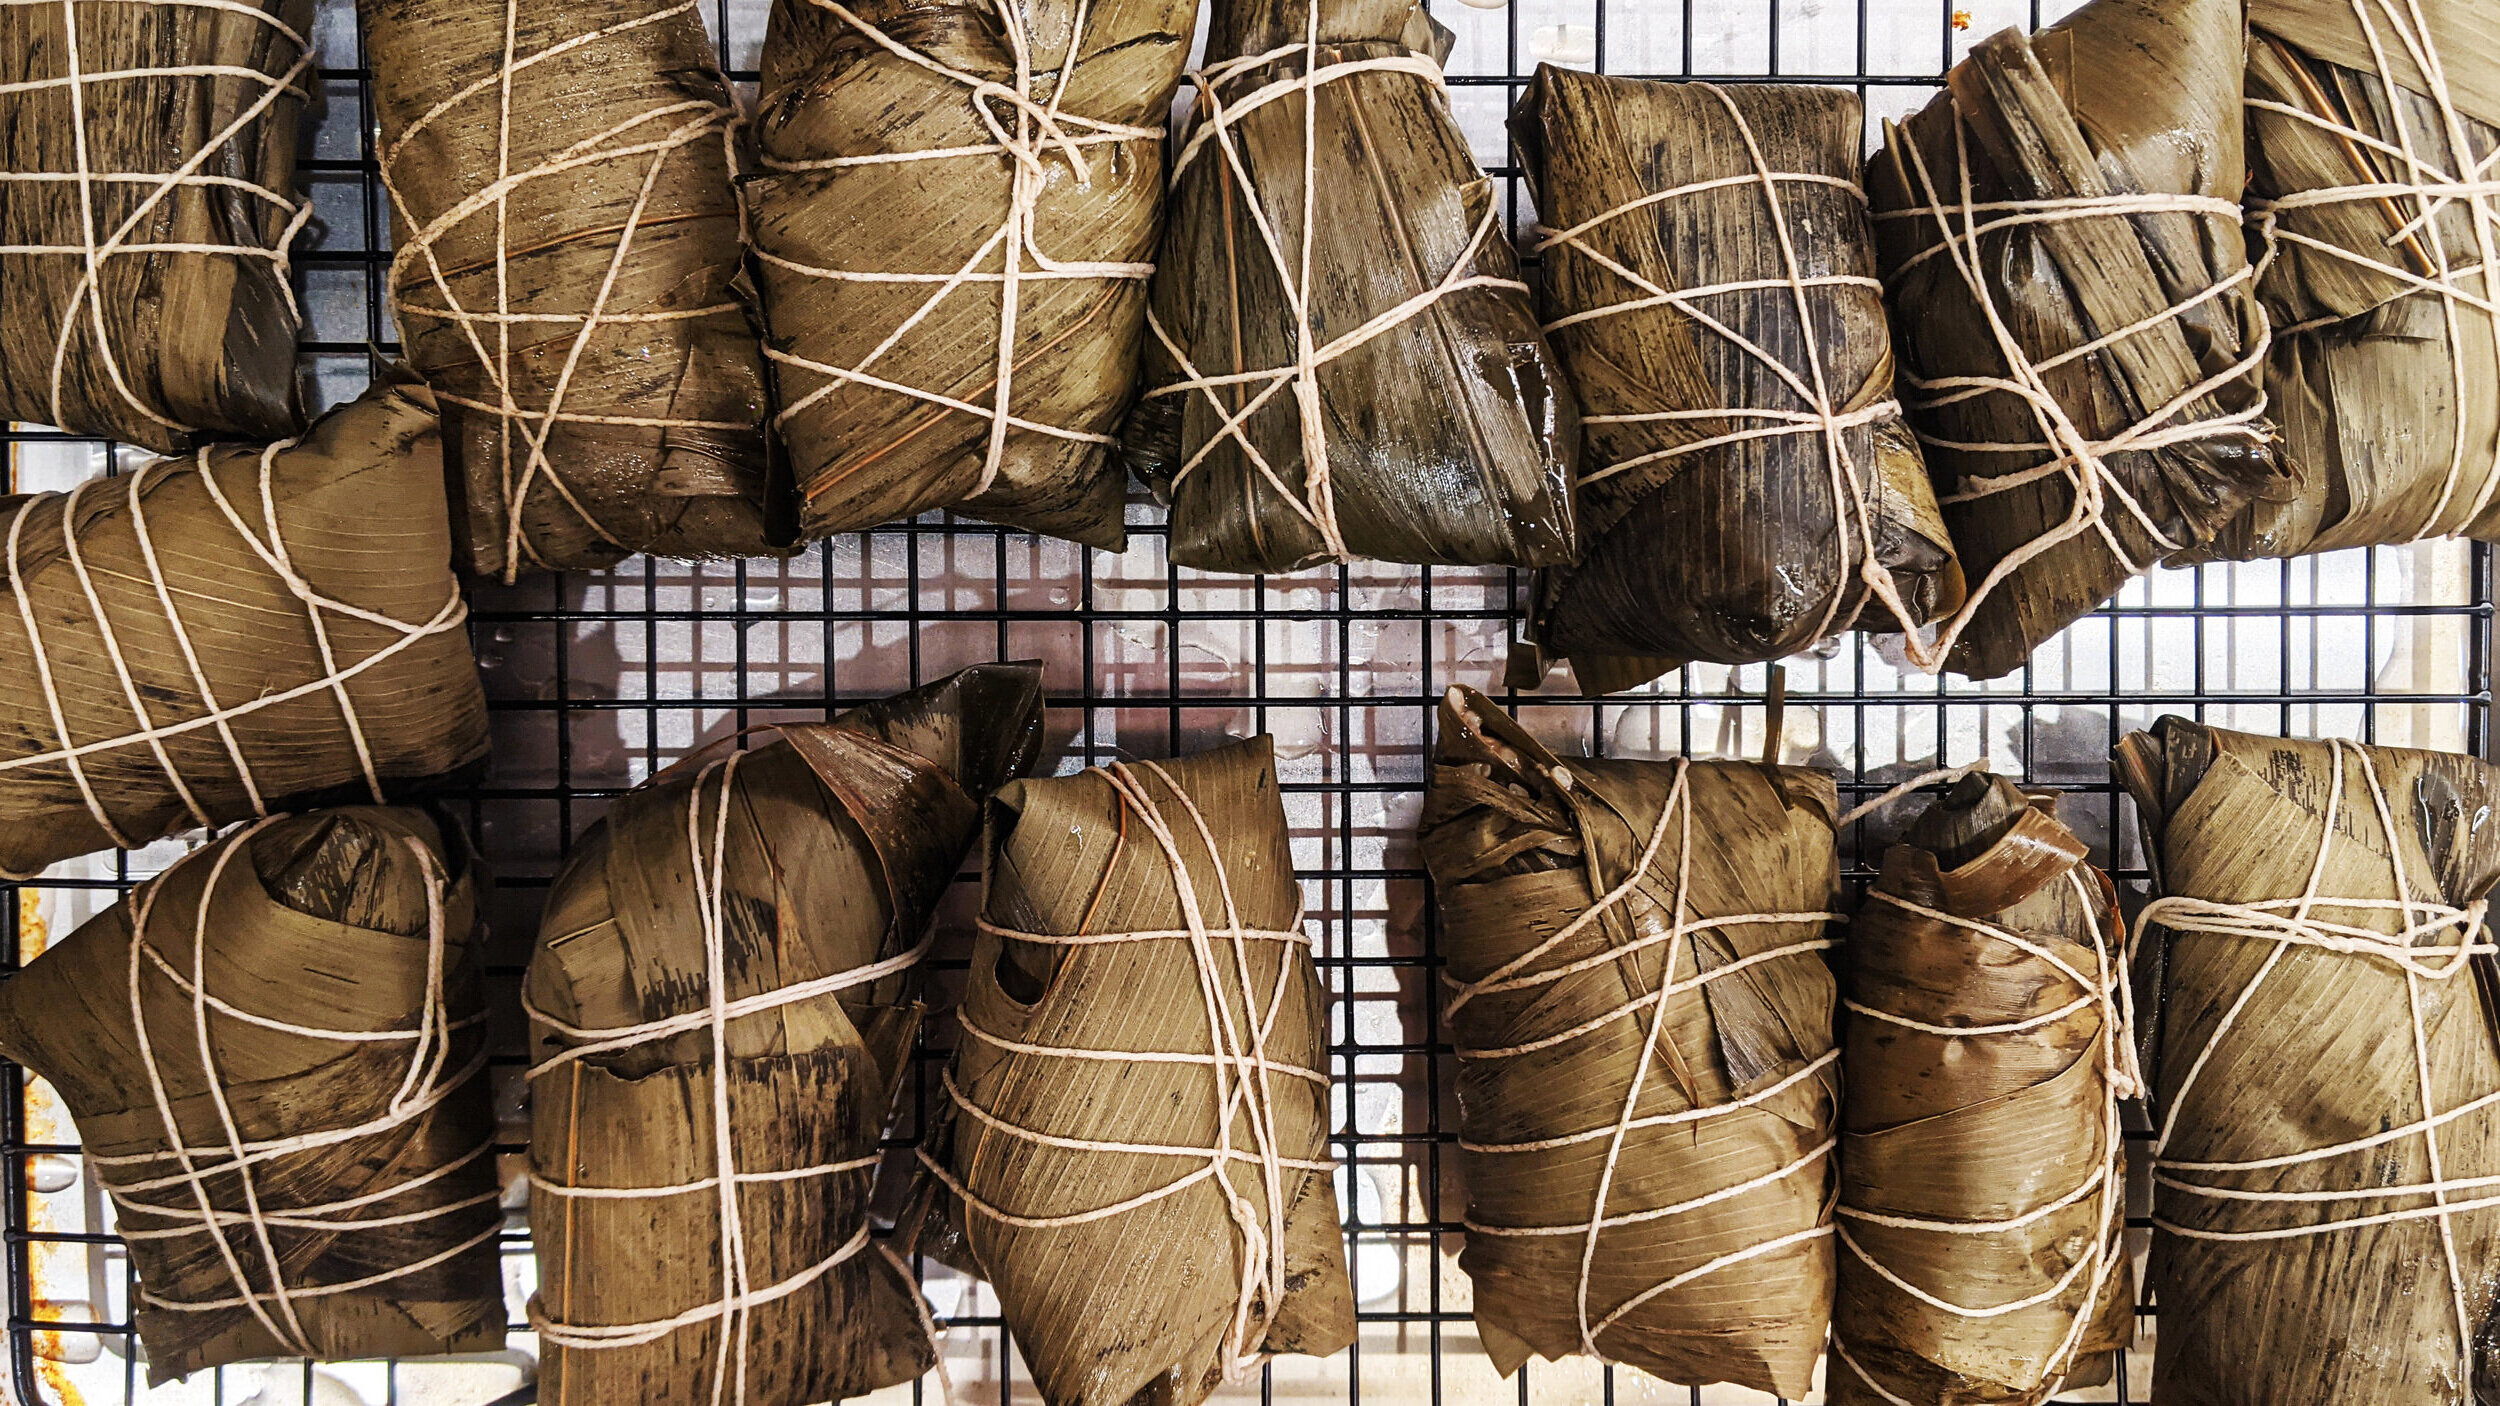
The method I found most natural was to layer two leaves, overlapping about 1/3, form a cone, tucking back point the forms. Fill in with some rice first, then other fillings. Top off with another thin layer of rice. Fold over the ends of leaves (or use a third leaf) to cover the rice, tucking edges in to completely seal openings. Bind securely with twine by wrapping several times around the whole joong and tie. *This sounds simple but it is NOT. Do not be discouraged! I am fairly adept at normal dumplings and other wrapping skills, but this was more challenging for sure.
Some helpful videos & links you should absolutely review:
Some things to note when wrapping…
The shiny smooth side of the leaves should face the inside of your cone / the fillings. This is the topside of the leaf that is smoother. The underside where the veins of the leaf protrude more are the outside of the dumpling.
Tightly pack in the ingredients and gently squeeze out any air pockets when wrapping to help it all stay together during cooking.
If you leaves rip, it’s probably best to start over. Inadequate salvaging at this stage may seem ok, but it still might fall apart during the cooking process when the rice expands.
Rips are more likely to occur vertically along the leafs than horizontally.
Make sure all your edges/corners are well tucked and sealed and held in place with evenly spaced wrapping with the kitchen twine.

COOKING & EATING:
Read this: https://thewoksoflife.com/how-to-cook-zongzi-instant-pot/
TLDR - Carefully place all your joong into the pressure cooker pot with as little room for movement as possible. Cover with water and pressure cook for 1 hour. Allow to depressurize naturally, about 20-30 mins. Carefully remove the joong and set on a tray to cool off and drip dry.
No pressure cooker? No problem. Fill a large pot with the joint, cover with water and bring to gentle boil. Turn down heat to a point where water is moving, but not bubbling. Cook for ~6 hours. Cooking time will vary depending on batch size/how long you pre-soaked your rice for.
They are now ready to eat! Just snip the strings, unwrap and enjoy. They will store in the fridge for a few days, or you can freeze them for longer. To reheat it’s best to steam them until soft again, about 15 minutes depending on size/amount. You can also microwave them for a couple minutes wrapped in a damp towel to prevent it from drying out. Unwrap and enjoy with a little soy sauce, white pepper, black vinegar, or plain.
